The Ultimate Guide to Exporting Clean DXF Files from SolidWorks for CNC Laser and Plasma Cutting


In modern sheet metal fabrication, time is the ultimate currency. When an industrial workshop receives a 3D CAD model, the efficiency of the entire production line depends heavily on how that model translates into a 2D flat pattern vector file (DXF).
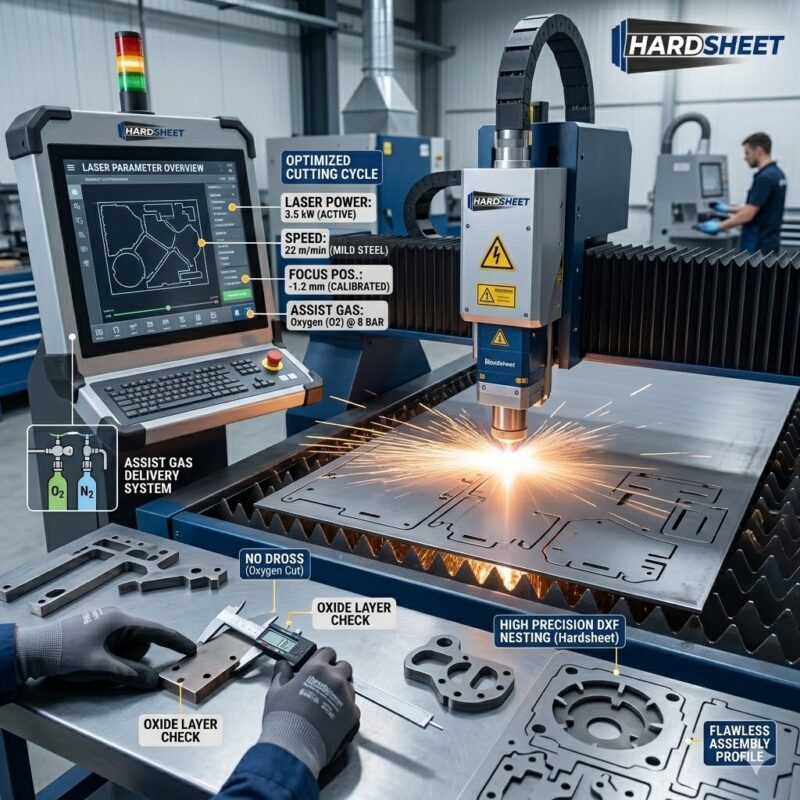
If your DXF files contain overlapping geometric lines, loose nodes, unjoined corners, or thousands of redundant spline points, the CNC laser, plasma, or waterjet machine will experience micro-stuttering. In worst-case scenarios, the capacitive height sensor on a 12kW fiber laser head can lose its reference point, plunging directly into the sheet metal and causing thousands of dollars in tooling damage.
Exporting a “clean” DXF file from SolidWorks is not just about clicking “Save As.” It requires a deep technical understanding of geometric data integrity, nesting dynamics, and how CNC controllers interpret vector paths. This comprehensive, 1000+ word engineering guide will break down the exact workflow required to generate flawless, production-ready flat patterns that minimize machine cycle times and eliminate shop floor errors.
1. The Anatomy of a Bad DXF File: Why CNC Machines Stutter
Before diving into the SolidWorks settings, we must understand what happens inside the computer numerical control (CNC) computer when it reads a poorly optimized vector file.
A CNC cutting head glides effortlessly along continuous paths—straight lines (G01 linear interpolation) and smooth arcs (G02/G03 circular interpolation). However, if your 3D design software generates messy geometry, the cutting machine encounters three major roadblocks:
-
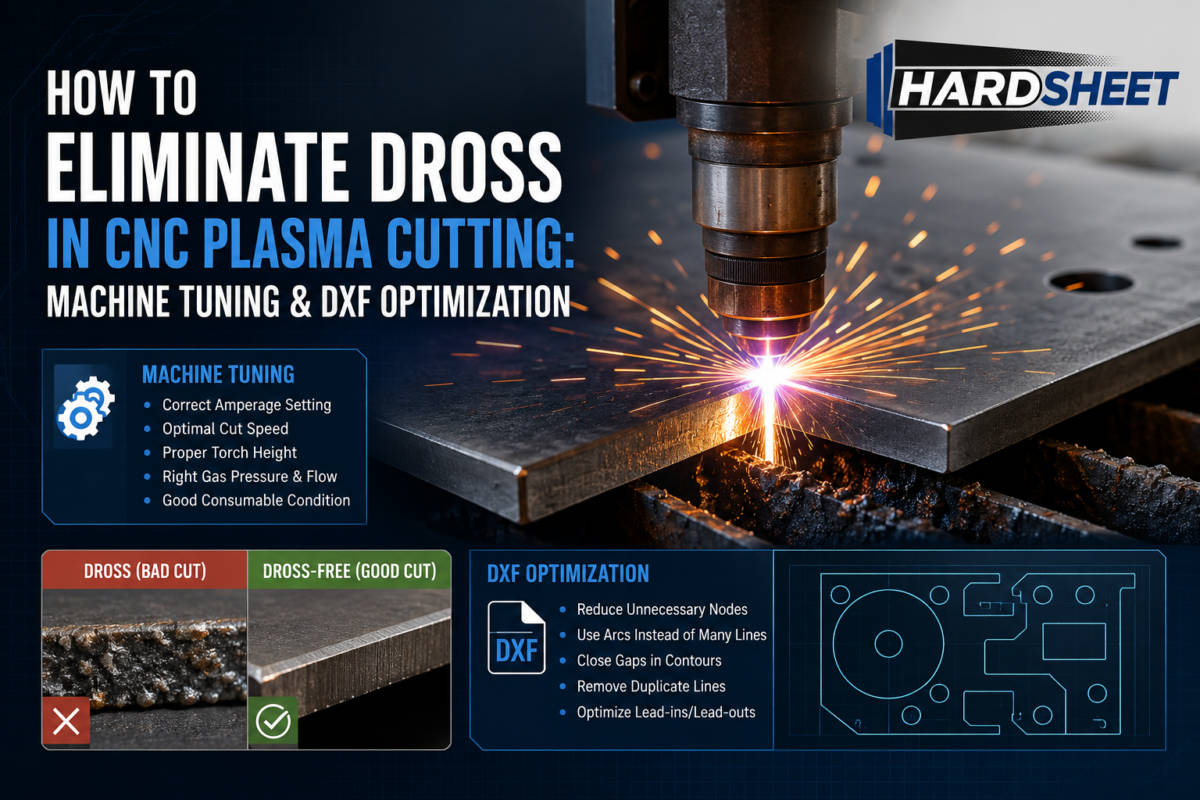
The Spline Nightmare: When a complex curve is exported as a raw spline rather than a series of optimized arcs, the DXF file converts that single smooth curve into tens of thousands of microscopic straight line segments. The CNC machine tries to execute a separate acceleration and deceleration command for every single tiny segment, resulting in severe vibration, a rough edge finish (scalloping), and heavily worn mechanical gears.
-
Overlapping and Duplicate Vectors: If a designer duplicates a sketch entity by mistake or exports both the top and bottom faces of a sheet metal part simultaneously, the laser head will traverse the exact same path twice. This burns the metal edge, destroys the nozzle shroud due to excessive back-reflection, and adds useless minutes to the production run.
-
Micro-Gaps and Open Loops: CNC programming software (like CypCut, TruTops, or SigmaNEST) requires absolute geometric closure to calculate internal and external profiles. If a corner has a micro-gap of just $0.05\text{mm}$, the nesting software cannot distinguish between the “inside” and the “outside” of the part. The operator must then waste time manually healing the vector nodes on the shop floor.
Plaintext
  POOR GEOMETRY (Splines/Gaps)          OPTIMIZED GEOMETRY (Hardsheet Standard)
     ┌─ ─ ─ ─ ─ ─ ─ ─ ─┐                    ┌─────────────────┐
     ░  Micro-Gaps     ░                    │ Continuous Path │
     ▼                 ▼                    │ (G02/G03 Arcs)  │
     └─ ─ ─ ─ ─ ─ ─ ─ ─┘                    └─────────────────┘
  (Causes Torch Stuttering)               (Flawless High-Speed Glide)
2. Setting Up SolidWorks Sheet Metal for Flawless Exports
To guarantee that your flat patterns export cleanly every single time, you must establish proper structural rules within the SolidWorks environment before starting your 3D design process.
Step 1: Use the Dedicated Sheet Metal Toolset
Never model a sheet metal component using the standard “Extruded Boss/Base” tool and then try to convert it later. Always utilize the native Base Flange/Tab, Edge Flange, and Miter Flange commands. This ensures that SolidWorks embeds a mathematically sound, unfoldable “Flat-Pattern” feature at the bottom of your feature manager design tree.
Step 2: Establish the True K-Factor and Bend Radius
As analyzed in our comprehensive bending guide, the flat layout length is dictated entirely by your material deformation metrics. Ensure your Gauge Tables or custom K-Factor settings perfectly mirror the physical tooling parameters of the press brake in your shop. If your inside radius is set to an impossible value (like $0\text{mm}$ or a sharp edge), SolidWorks will corrupt the flat geometry calculation, leading to overlapping lines when the file is flattened.
3. Step-by-Step Workflow: How to Export DXF the Right Way
When your 3D model is complete and ready for the nesting queue, follow this exact engineering workflow to extract the 2D data:
Plaintext
 ┌────────────────────────┐      ┌────────────────────────┐      ┌────────────────────────┐
 │   Right-Click Face     │ ───► │  Select 'Export DXF'   │ ───► │   Enable 'Geometry     │
 │  or Flat-Pattern Tree  │      │    Set Output Type     │      │     Simplification'    │
 └────────────────────────┘      └────────────────────────┘      └────────────────────────┘
-
Locate the Feature Tree: Navigate to the very bottom of your SolidWorks design tree, find the Flat-Pattern folder, right-click the active flat pattern feature, and select Export to DXF / DWG. (Alternatively, you can right-click the flat sheet metal face directly and select Export).
-
Define Output Options: In the export dialog window, save your file name using a strict industrial nomenclature format (e.g.,
PART_NUMBER_3mm_MILD_STEEL_QTY_10.dxf). This prevents the machine operator from loading the wrong material thickness. -
Configure the Export Matrix: Under the “Export” options panel on the left side of the screen, check the Sheet Metal box.
-
Filter Your Layers: You must explicitly select which data types are exported. Check Geometry to export the true cut boundary. CRITICAL: Unless your shop uses a laser marking/etching head, uncheck the Bend Lines box. Exporting solid bend lines inside the cutting file can confuse basic CNC controllers, causing the machine torch to slice right through the middle of your part instead of just profiling the edge.
4. Advanced Geometric Simplification: The Secret to High-Speed Cutting
Within the SolidWorks DXF export options interface is a hidden, incredibly powerful engineering toggle called Geometry Simplification. Turning this option on is what separates a novice draft design from a production-ready blueprint.
Plaintext
   [X] Enable Geometry Simplification
        (O) Simplify Splines into Arcs and Lines
        Tolerance Level: [ 0.05 mm ]
When you enable this function, SolidWorks runs a real-time mathematical algorithm across the vector boundary of your part. It identifies messy spline segments and converts them directly into linear lines and true tangent mathematical arcs.
Setting Your Linear Tolerances:
-
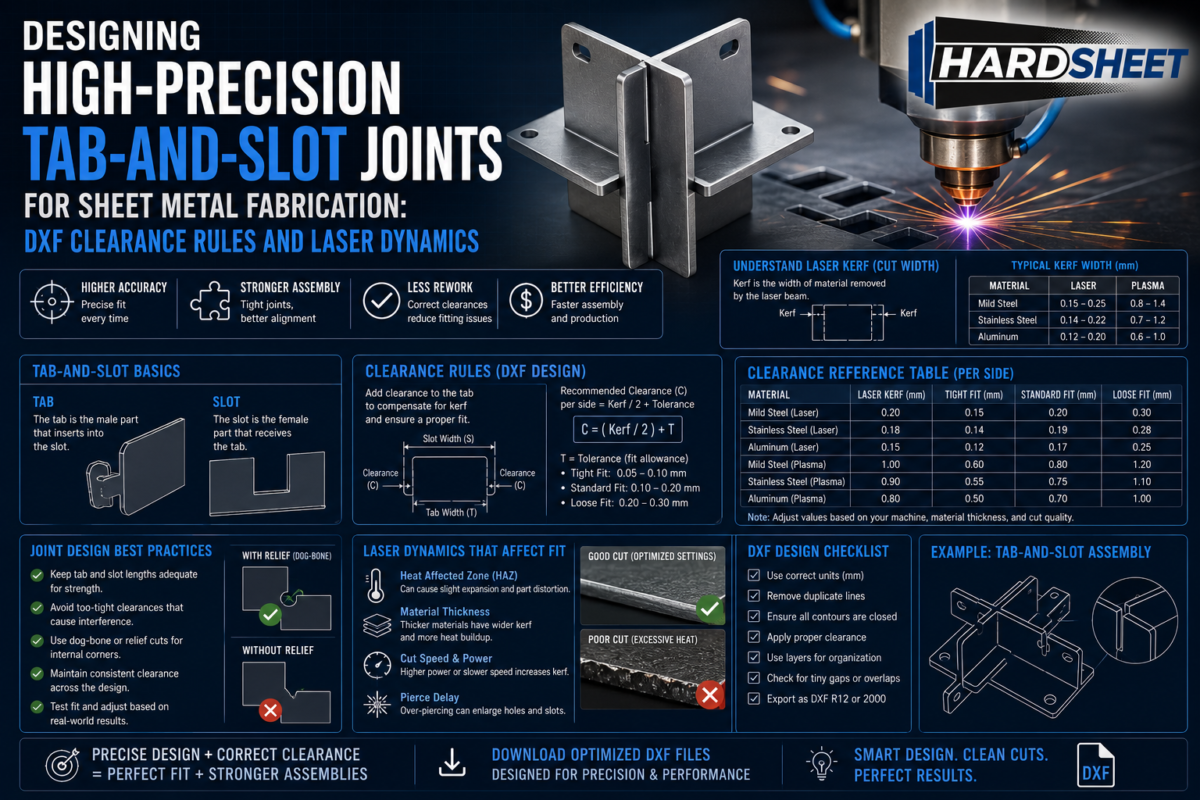
High Precision ($0.02\text{mm}$ to $0.05\text{mm}$): Ideal for intricate interlocking gears, mechanical slots, and tight tabs. It retains extreme accuracy while drastically reducing file node density.
-
Standard Fabrication ($0.1\text{mm}$): Perfect for heavy structural brackets, industrial wall art, and large flat-pack fire pits. This setting optimizes the cutting path, allowing the fiber laser to reach maximum feed velocity without choking the machine’s CPU.
5. Nesting Dynamics: Maximizing Material Yield
Once you have exported a collection of clean DXF files, the final step before striking the laser arc is nesting—the strategic arrangement of parts across a standard industrial sheet ($3000\times1500\text{mm}$ or $2500\times1250\text{mm}$).
An engineered DXF file must respect standard nesting physics:
-
Grain Direction Awareness: When cutting premium stainless steel or brushed aluminum, the parts must all be oriented along the same axis in the nesting array to preserve visual continuity across the final assembly.
-
The Part-to-Part Distance Rule: Never place parts directly touching each other to save material. The intense heat of a fiber laser beam requires a thermal buffer zone. As a general rule of thumb, maintain a minimum distance equal to $1 \times \text{Material Thickness}$ (for thin sheets) or $2 \times \text{Material Thickness}$ (for plates above $6\text{mm}$) to prevent the skeleton grid from collapsing during production.
Conclusion: Engineered Vectors Mean Manufacturing Profit
In the highly competitive landscape of modern manufacturing, a CNC cutting table is only profitable when the head is actively moving down a cut path. If your operators are stuck sitting at a computer console manually closing gaps, cleaning up stray lines, or rewriting G-code because of bad drawing exports, your business is losing money.
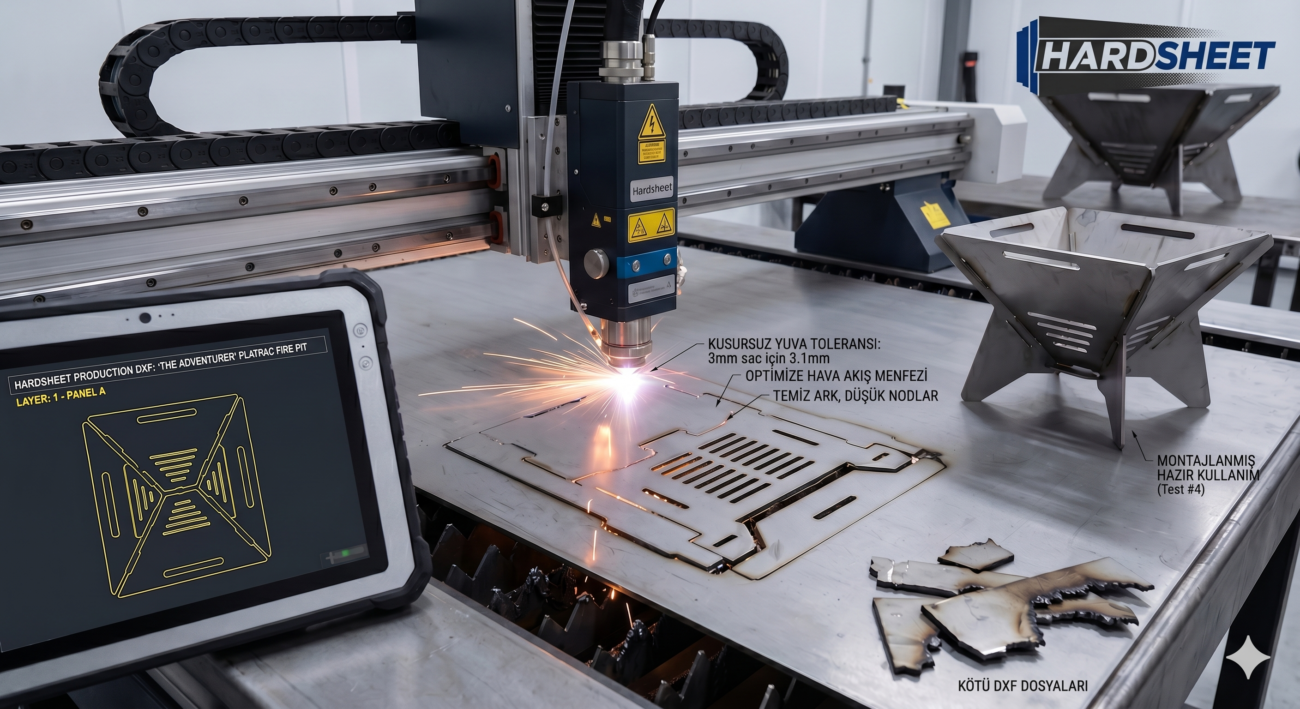
At Hardsheet, we understand the deep relationship between CAD architecture and industrial CNC execution. We don’t just draft beautiful silhouettes; we engineer clean vector code. Every single DXF file in our vast production library undergoes rigorous node optimization, spline conversion, and geometric loop verification.
When you purchase an engineering file from Hardsheet, it is guaranteed to import flawlessly into your nesting software, load clean into your CNC controller, and cut at maximum speed with zero machine hesitation.
Invest in clean drawings. Eliminate shop floor downtime. Experience true production-ready quality.
👉 [Explore Our Library of CNC-Ready, High-Speed Optimized DXF Templates]